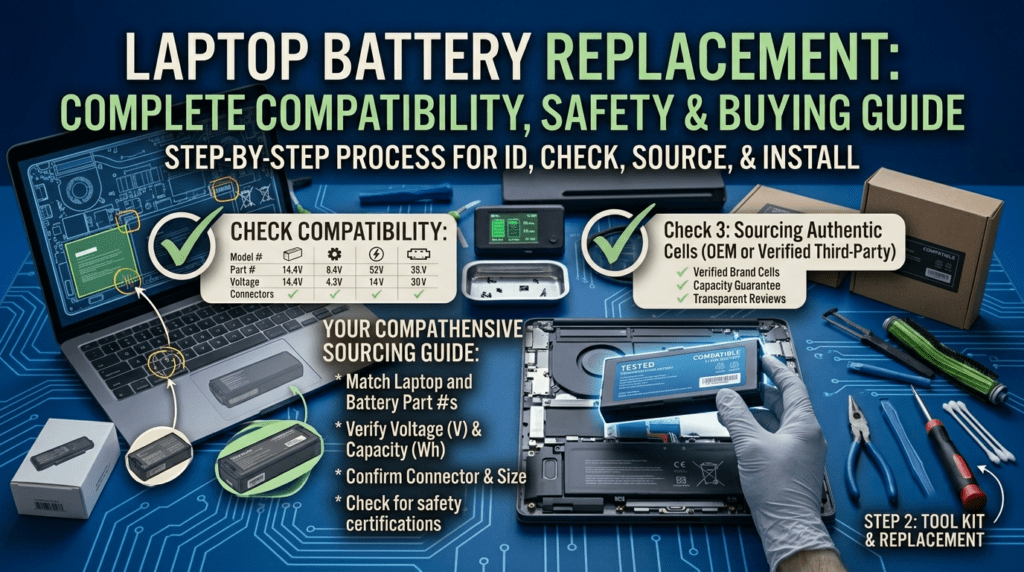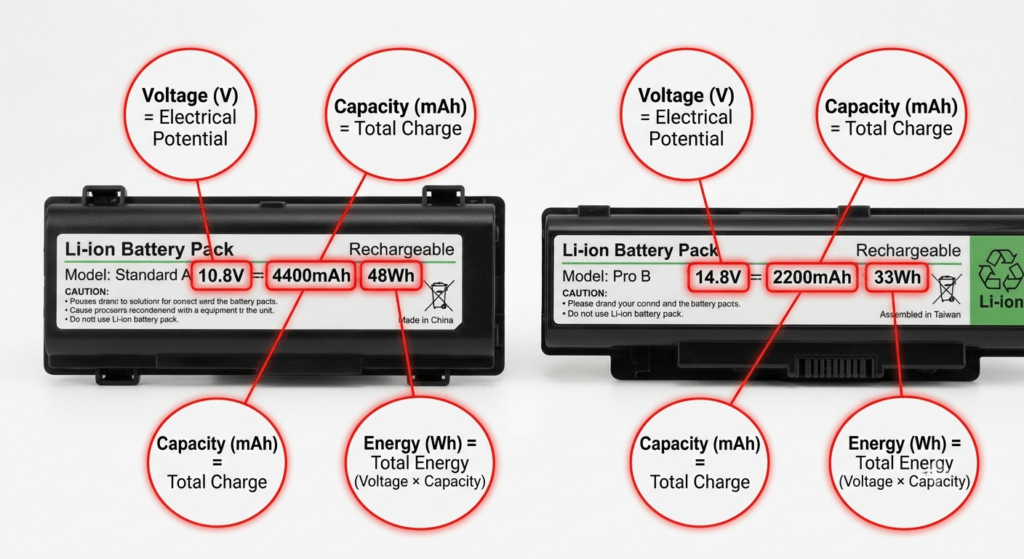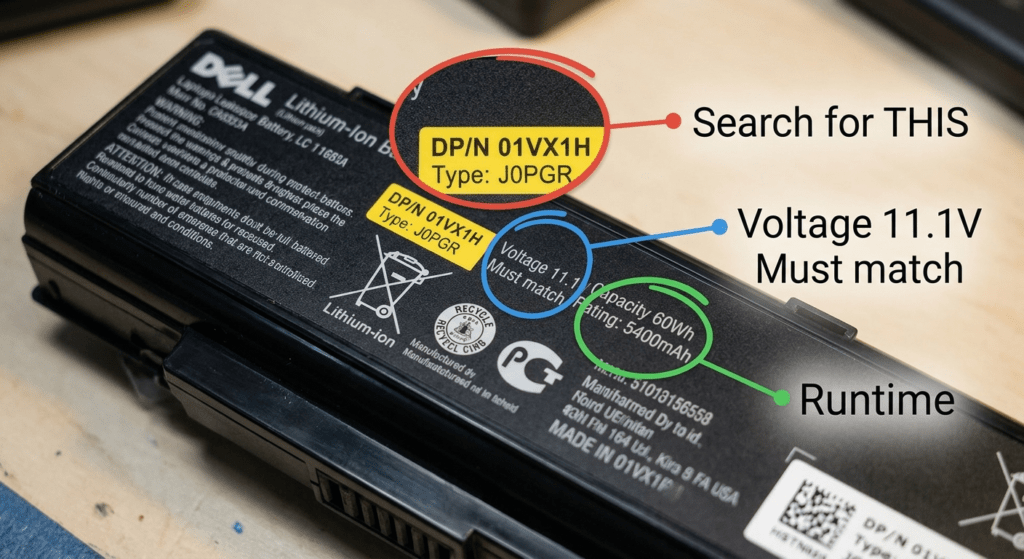
Its internal circuitry is physically disconnected when a new battery is transported in “shipping mode” of its Battery Management System (BMS). It awakens at the first load. The BMS still has factory-default charge curves after that, which do not correspond to the real cells of your battery. Where “empty” and “full” actually are, two or three complete cycles indicate the BMS.
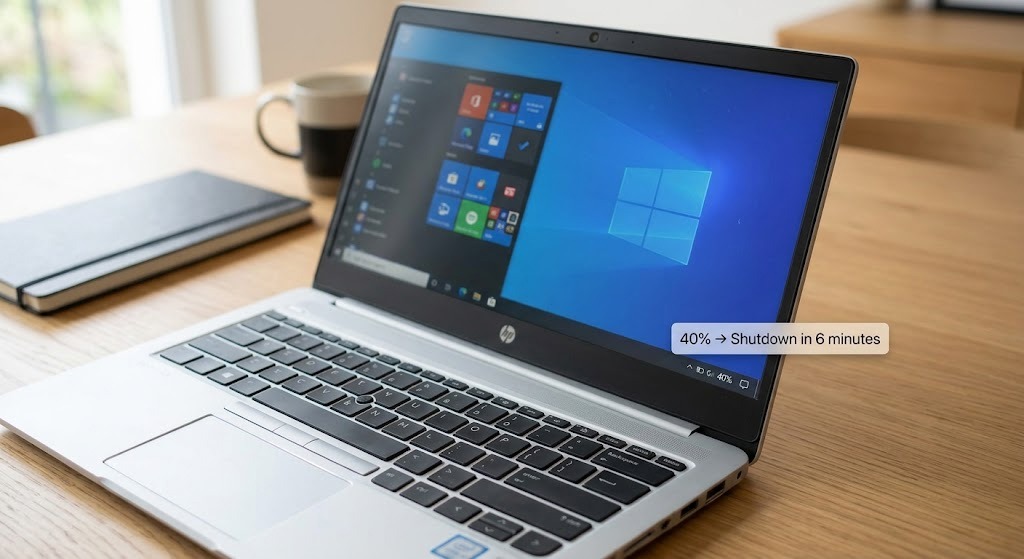
Ignore this, and your battery percentage will mislead you. It will go from 40% to 8% in just two minutes. At 20%, it will stop. 45 minutes would be equal to “2 hours left.” Step by step, in the correct order, this tutorial rectifies that.
Part of our Laptop Battery Replacement Guide series. Just installed the battery? The replacement guide is here.
1. Why Your New Battery Lies to You (At First)
“Shipping mode” is used to deliver new batteries. The battery cannot short circuit or discharge during transportation since the internal circuit is unplugged. It appears to be deceased. It isn’t; it’s dormant and anticipating its initial accusation.
Most instructions omit this crucial point: the BMS continues to use factory-default charge curves even after the initial charge activates the battery. The chip inside your battery was set up at the factory using a standard voltage-to-percentage table. Your precise cells are not yet known.
Since every batch of cells is different, your cells won’t precisely match the factory reference. Let the BMS measure your cells’ actual voltage range and rewrite the table by completing two or three full cycles. Following that, the proportion reading corresponds to actuality.
Symptoms of an Uncalibrated Battery
| Symptom | What’s Happening |
|---|---|
| Percentage jumps from 40% to 8% | The BMS’s factory curve says 40% — the real voltage says 8%. The curve is wrong. |
| Laptop shuts down at 20% | The real empty point is higher than the factory curve predicts. |
| Stays at 100% for an hour, then drops fast | The top end of the curve is wrong. The battery holds less than the BMS thinks. |
| Runtime estimate swings wildly | Windows calculates runtime from the faulty percentage. Fix the gauge, the estimate follows. |
Calibration fixes the gauge — not the capacity. If your battery physically holds 20% less energy than new, calibration won’t bring it back. It only makes the percentage reading honest. Keep that in mind before you expect miracles.
2. Install → First Power-On (Do This in Order)
The order matters. A battery in shipping mode cannot wake itself up.
- Install the battery. Seat the connector firmly. Reassemble the laptop.
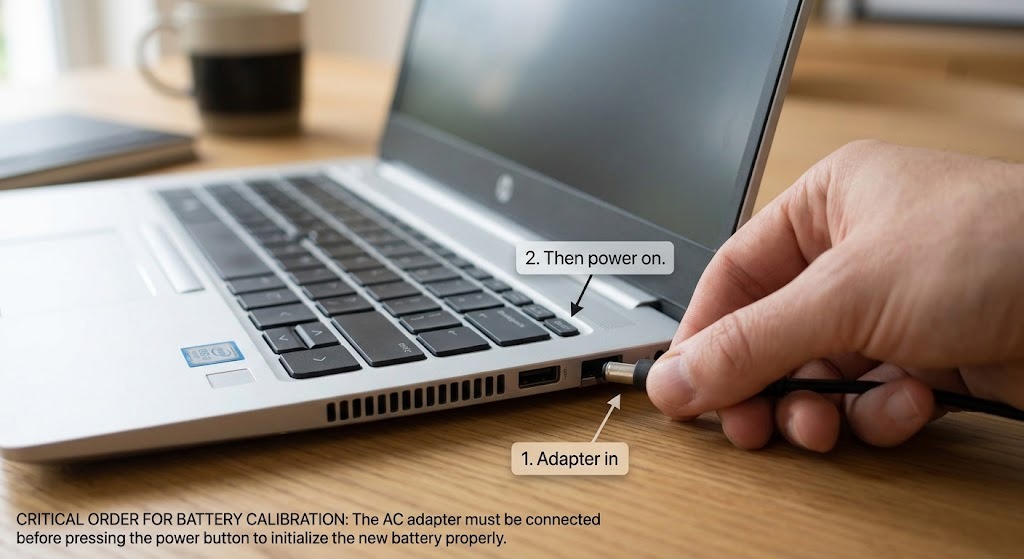
- Plug in the AC adapter FIRST. Before you press the power button. The first charge is what wakes the battery from shipping mode. Some batteries wake in seconds. Some need 15–30 minutes.
- Then power on. The battery should appear in the system tray as charging. If you press power before plugging in and nothing happens — that’s normal. It’s not broken. Plug in and try again.
- Check battery detection. If the battery shows 0% but “charging” after a few minutes, you’re fine. If Windows shows no battery at all, shut down and reseat the connector.
I’ve seen people return perfectly good batteries because the laptop wouldn’t power on right after install. They pressed power first, nothing happened, and they assumed the battery was dead. The battery was fine. It was in shipping mode. Plugging in the adapter first would have fixed it in seconds.
3. Turn Off Charge Limits First
If your laptop has a charge limit enabled — and many do by default on business models — calibration will never complete. The laptop will stop charging at 60% or 80%, never reaching 100%, and the whole cycle fails silently.
Disable the limit before you start. Here’s where to find it:
| Brand | Tool | Setting to Disable |
|---|---|---|
| Dell | Dell Power Manager | Battery Information → Settings → Charge Mode → “Standard” |
| Lenovo | Lenovo Vantage | Device → Power → Battery Charge Threshold → Off; also check Conservation Mode in BIOS |
| ASUS | MyASUS | Battery Health Charging → “Full Capacity Mode” |
| HP | BIOS (F10 at boot) | Advanced → Battery Health Manager → disable; check Adaptive Battery Optimizer in HP Support Assistant too |
4. The 5-Step Calibration Procedure
Do these in order. Each step has a reason — skip one and the calibration fails quietly.
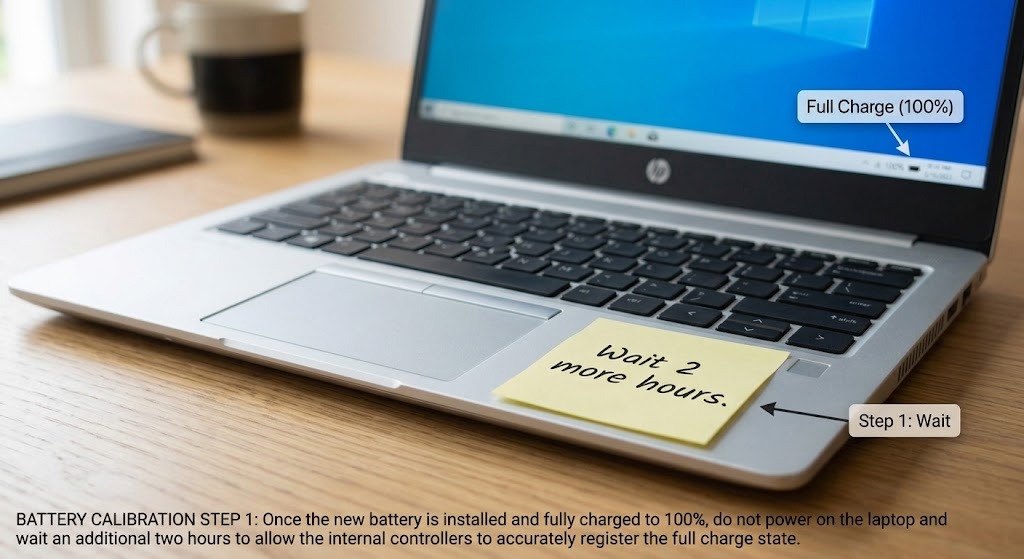
Charge to 100% — and stay plugged in 2 more hours. The percentage hits 100% before every cell is truly full. Those extra 2 hours let the BMS top-balance the cells. It’s the difference between “gauge says full” and “cells are full.”
Disable sleep and hibernate on battery. Go to Power Settings and set “sleep on battery” to “Never.” If the laptop dozes off mid-discharge, the cycle breaks and you start over.
Drain to 0%. Unplug and use the laptop normally until it shuts itself off. Don’t plug it in when it hits 5%. Don’t plug it in when Windows warns you. Let it die. The BMS needs to see the true bottom of the voltage range.
Wait 5 hours. Leave it unplugged. After the laptop shuts off, the cell voltage slowly rises back up — a phenomenon called voltage recovery. If you plug in too soon, the BMS records the “empty” point too high. The 5-hour wait lets the voltage settle at the true minimum. This is the step everyone skips, and it’s why their calibration doesn’t take.
Recharge to 100% — uninterrupted. Plug in and don’t touch the laptop until it’s full. Using the laptop during this charge disrupts the charge curve. When it hits 100%, the BMS has a complete voltage map. Calibration done.
Repeat the full cycle 2–3 times for a new battery. One cycle gets you 90% of the way. Two or three locks in the accuracy. For an old battery that just needs a gauge reset, one cycle is enough.
5. Brand Shortcuts: Skip the Manual Steps
Some brands include a built-in calibration tool that automates the whole procedure. If your laptop has one, use it — it’s more reliable than doing the steps manually.
| Brand | Tool | Where | What It Does |
|---|---|---|---|
| Dell | Battery Calibration (BIOS) | F12 at boot → Diagnostics → Battery | Runs a full automated charge-discharge-charge cycle. Takes 3–5 hours. |
| Lenovo | Battery Gauge Reset | Lenovo Vantage → Device → Power → Battery Gauge Reset | Automated cycle that recalibrates the gauge. Laptop must stay plugged in for the first phase. |
| HP | Battery Check / Calibration | BIOS (Esc at boot → F2 → Component Tests → Battery) | Automated test + calibration cycle. Business models (EliteBook, ZBook) only. |
These tools do the same thing as the manual procedure — they just don’t trust you to do it right. Fair enough. I’ve skipped the 5-hour wait myself and wondered why the calibration didn’t stick. The automated tools don’t skip steps.
6. How Often Should You Calibrate?
| Situation | How Often |
|---|---|
| New battery, just installed | 2–3 cycles at installation. Then done. |
| Routine maintenance | Every 2–3 months. One cycle is enough. |
| Percentage reading is erratic | Run one calibration cycle immediately. |
| Mostly plugged in with charge limit at 80% | Quarterly. The gauge drifts faster when it never sees the extremes. |
Don’t calibrate monthly. Each full discharge stresses the cells about 3× more than a partial discharge. Monthly calibration is like running your car engine at redline once a week “to keep it healthy.” It does the opposite. Every 2–3 months is plenty.
Frequently Asked Questions
Do I need to calibrate a new laptop battery?
Yes — if you want accurate percentage readings. Without calibration, the battery works but the gauge lies. The BMS runs on factory-default charge curves until 2–3 full cycles teach it your battery’s real voltage range. Expect jumps from 40% to 8% until you calibrate.
How long does battery calibration take?
One full cycle takes roughly 8–12 hours including the 5-hour rest period. For a new battery, run 2–3 cycles over 2–3 days. You can use the laptop during the discharge phase — the rest periods are where the time goes.
Why does my new battery show 100% for hours then drop fast?
The top of the BMS’s charge curve doesn’t match your cells yet. The battery isn’t holding less energy — the gauge is misreading it. Two or three calibration cycles fix it.
Should I fully drain my new battery?
Yes — once or twice, as part of calibration only. The full drain teaches the BMS where the true empty point is. After calibration, avoid draining to 0% regularly — partial discharges are gentler on the cells.
Why do I have to wait 5 hours after draining?
Voltage recovery. After the laptop shuts off, the cell voltage slowly bounces back up. If you recharge immediately, the BMS records the “empty” voltage too high and the calibration fails. The 5-hour wait lets the voltage settle at the true minimum.
Can I use my laptop while calibrating?
During the discharge phase — yes, that’s how the battery drains. During the initial charge and the final recharge — no. Using the laptop disrupts the charge curve the BMS is trying to record. Let it charge untouched.
Does calibration restore lost battery capacity?
No. Calibration fixes the percentage gauge, not the physical capacity. If your battery report shows 60% health, calibration won’t turn it into 100%. It just makes the remaining 60% report honestly.
How do I calibrate a Dell / Lenovo / HP battery?
Dell: BIOS (F12) → Diagnostics → Battery Calibration. Lenovo: Vantage → Device → Power → Battery Gauge Reset. HP: BIOS (Esc, then F2) → Component Tests → Battery. These tools automate the full cycle — use them instead of the manual steps if available.
References & Sources
- Dell Support — Official battery calibration cycle procedure for Dell laptops.
- Lenovo Support — Battery Gauge Reset tool documentation in Lenovo Vantage.
- Battery University — Lithium-ion voltage recovery, charge curves, and calibration research.
Need a Battery Worth Calibrating?
Browse Tier 1 replacement batteries for Dell, HP, Lenovo, and ASUS. Grade A cells, full BMS, 1-year warranty. From $24.99.
Continue Reading