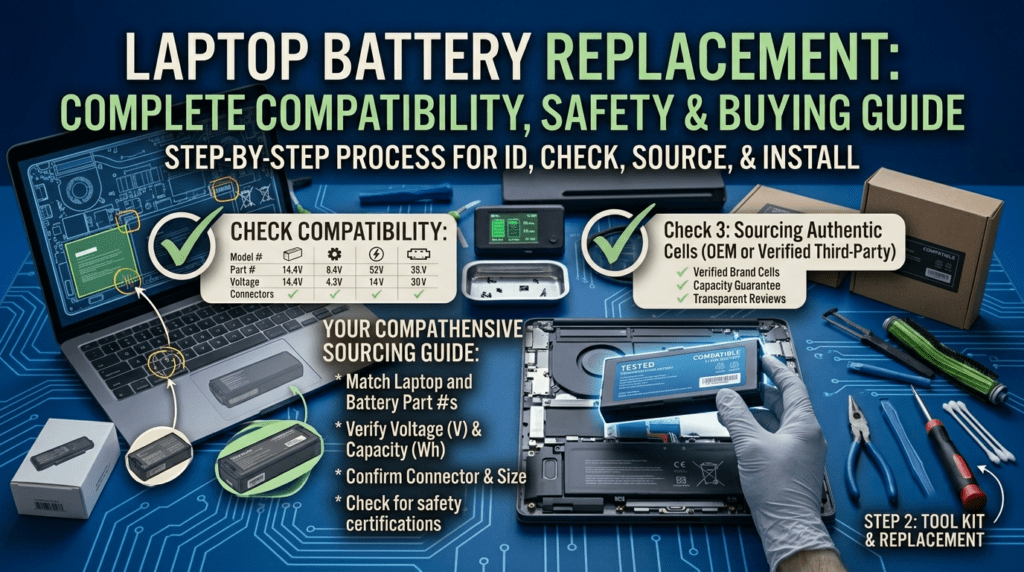
Most modern laptops have internal batteries held in by screws. A few older models still use external slide-out packs. Either way, the job is straightforward. No soldering. No special training. Just a screwdriver, a pry tool, and 15–45 minutes of your time.
I’ve done this on ThinkPads, Latitudes, EliteBooks, and VivoBooks. The steps are the same every time. The only thing that changes is where the screws hide.
Part of our Laptop Battery Replacement Guide series. Need to find your battery model first? Here’s how to look up your part number.
1. Before You Start (Read This First)
Before you touch a single screw:
- Back up your data. You probably won’t lose anything. But don’t be the one person who does.
- Shut down completely. Not sleep. Not hibernate. Full shutdown.
- Unplug the charger and all peripherals. USB drives, SD cards, dongles — everything out.
- Discharge the battery below 25% if you can. A fully charged lithium battery carries more energy. If something goes wrong, less charge is safer.
- Work on a clean, hard surface. No carpet. No bed. No cat within paw’s reach.
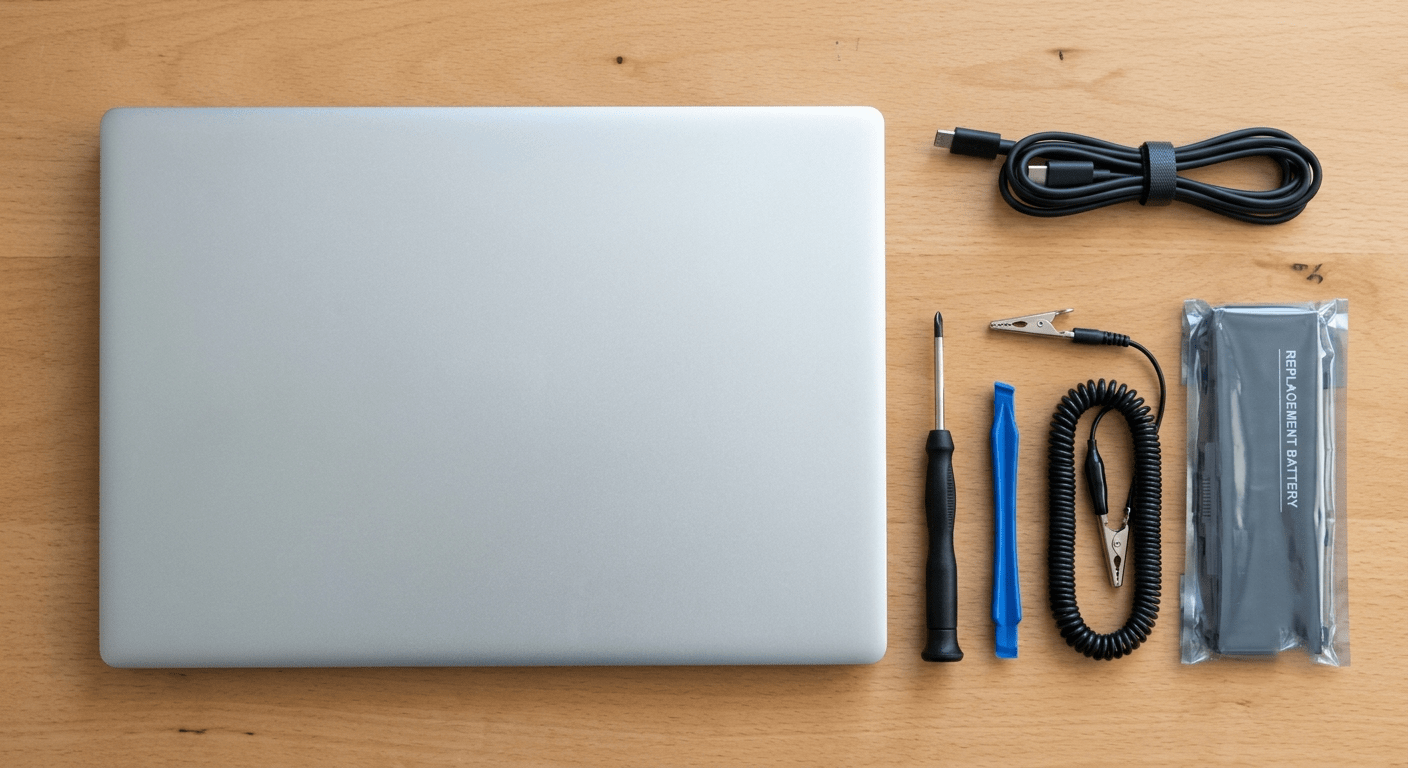
2. Tools You Need
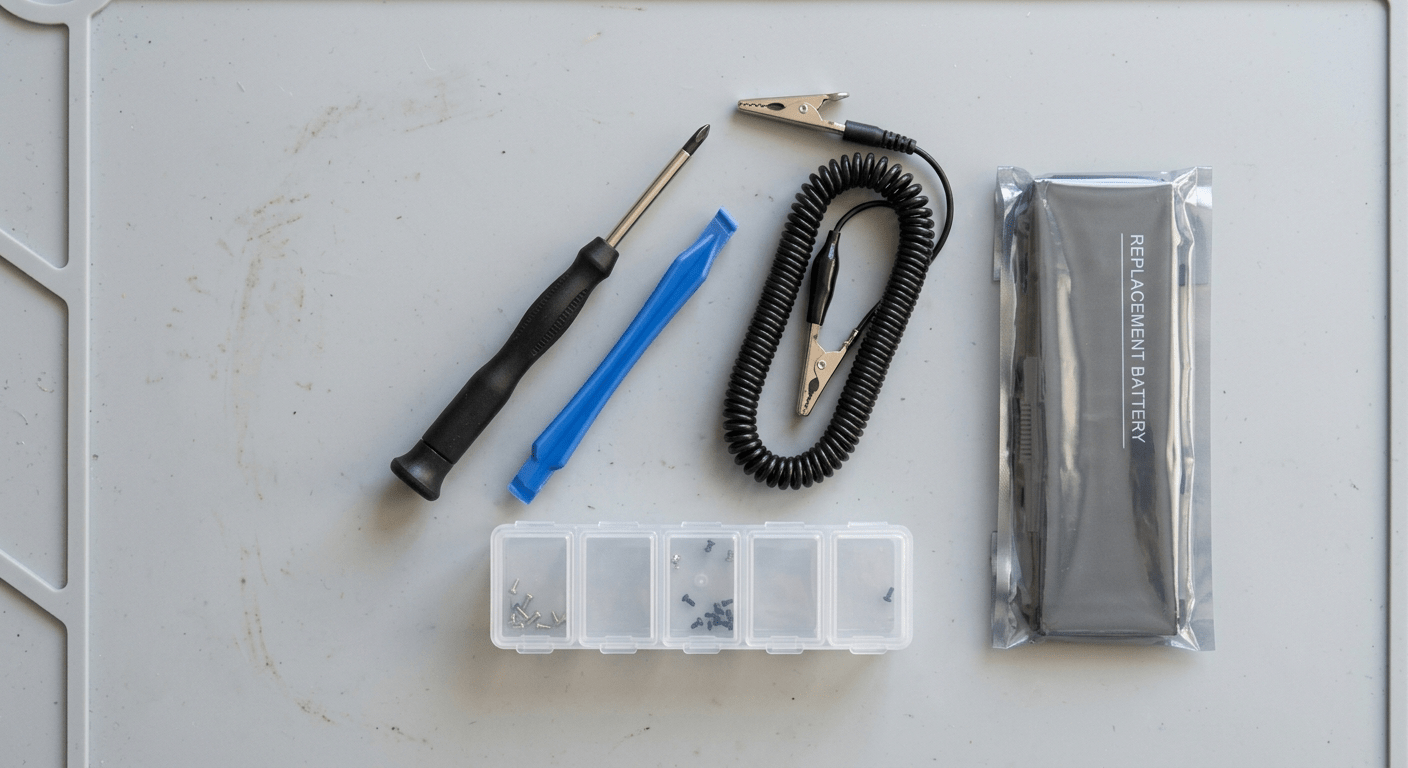
Four things. That’s it.
| Tool | Why | Cost |
|---|---|---|
| Phillips #0 or #00 screwdriver | Fits nearly all laptop screws | ~$5 |
| Plastic spudger / pry tool | Releases clips without scratching metal or shorting circuits | ~$3 |
| Anti-static wrist strap (optional) | Prevents static shock from frying components | ~$5 |
| Small container or magnetic mat | Holds screws so they don’t roll off the desk | ~$2 |
Never use a metal pry tool. I’ve seen someone slip with a flathead screwdriver and knock a capacitor off the board. The laptop never turned on again. A $3 plastic spudger would’ve prevented a $600 mistake.
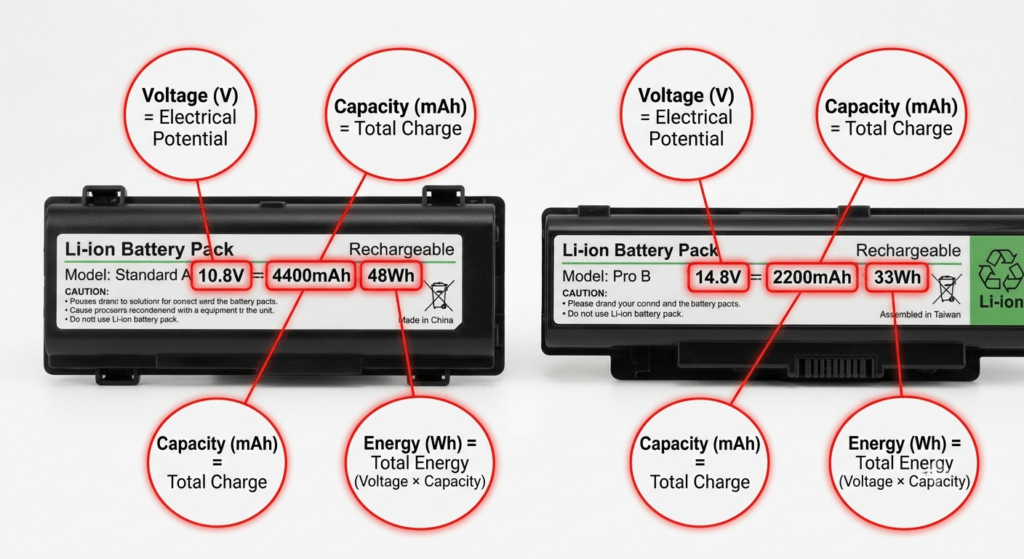
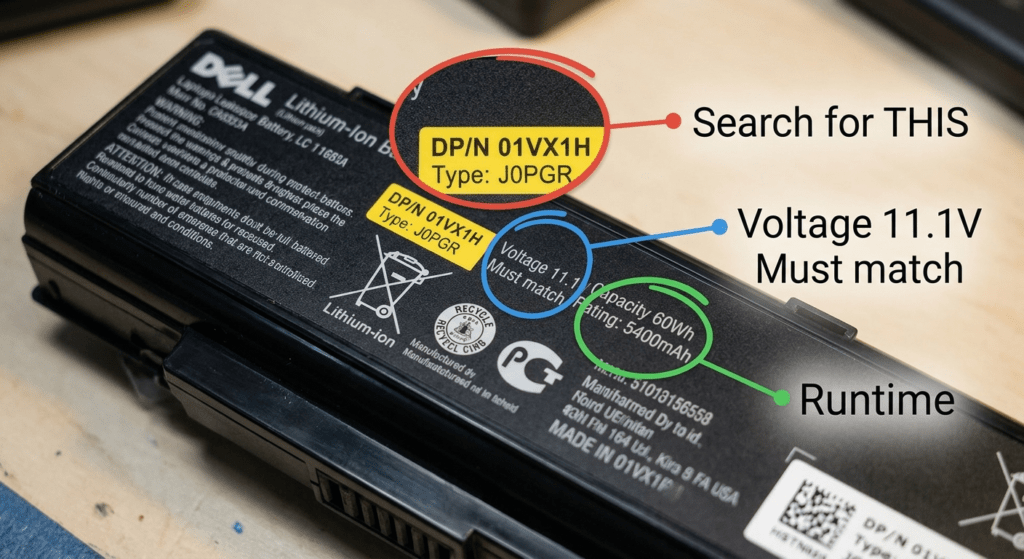
And have your new battery ready. Take it out of the box. Check the part number matches the one on your old battery. If you’re not sure how to find that number, here’s the guide.
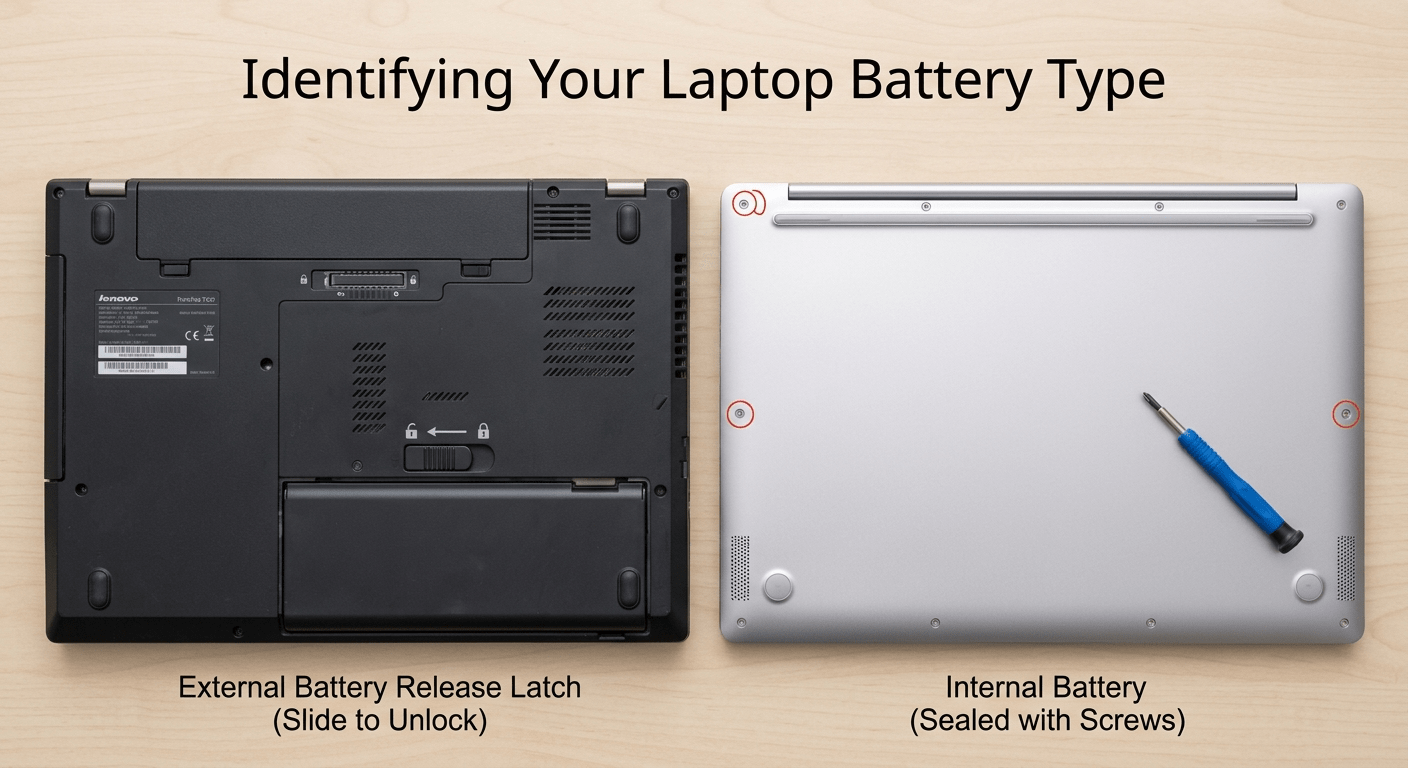
3. External vs Internal: What Type Do You Have?
Flip your laptop over. Do you see a battery release latch — usually two sliding tabs? If yes, you have an external battery. Slide both latches, lift the battery out, snap the new one in. You’re done in 30 seconds. Skip to section 7.
No latch? You have an internal battery. That means removing the bottom panel. Keep reading.
| Type | How to Tell | Time | Common On |
|---|---|---|---|
| External (removable) | Release latch on the bottom | 30 sec | Older ThinkPads (T480 and earlier), some Dell Latitudes, older HP EliteBooks |
| Internal (screw-mounted) | Solid bottom panel with screws | 15–45 min | Most laptops made after 2015 — Inspiron, Pavilion, IdeaPad, VivoBook |
| Internal (glued) | Solid panel, but battery is held by adhesive | Pro only | MacBook Pro, Microsoft Surface, some ultrabooks |
This guide covers screw-mounted internal batteries — the most common type. If yours is glued in, take it to a shop. The $50 labor fee is cheaper than replacing the laptop when the adhesive strip tears a cell.
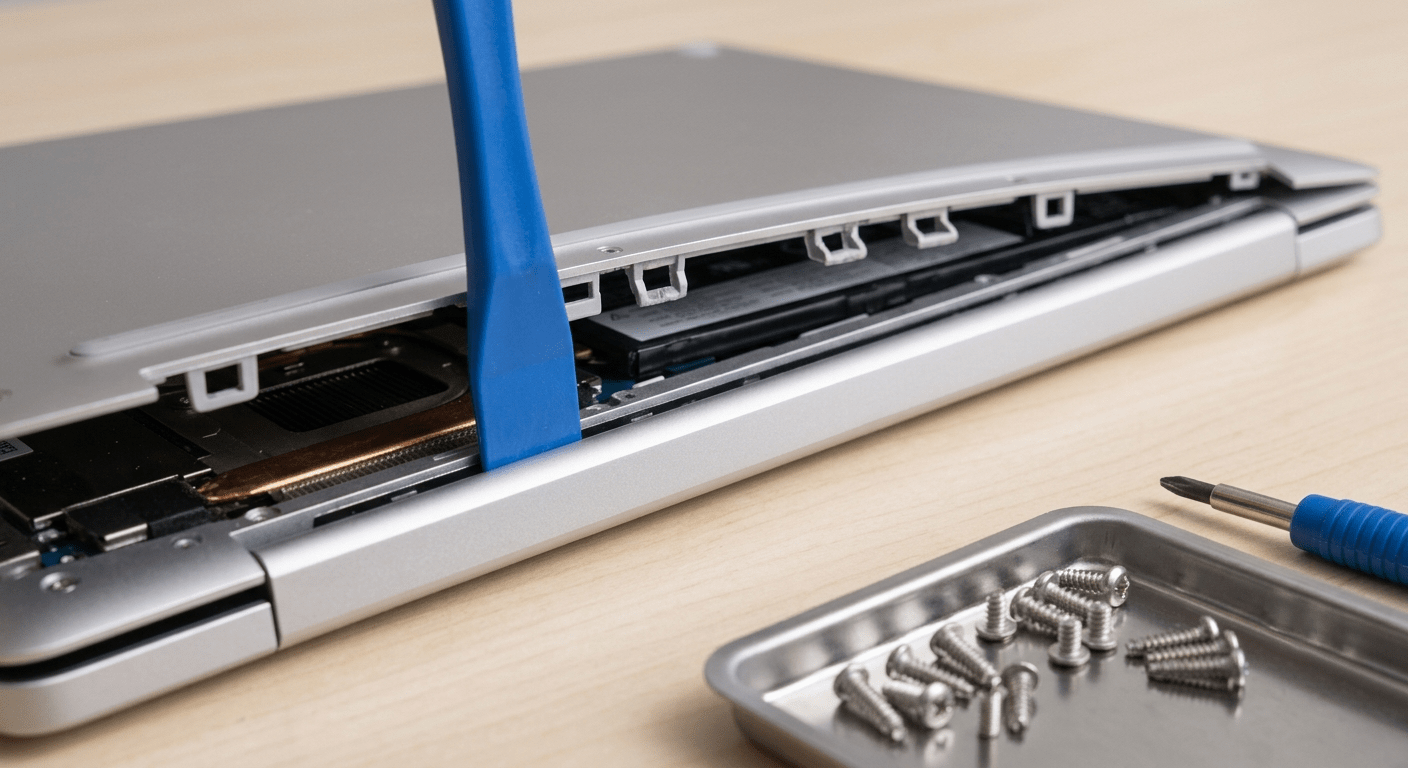
4. Open the Laptop (Steps 1–3)
Brand-Specific Tips for Opening
| Brand | What to Watch For |
|---|---|
| Dell | Many models use captive screws — they stay in the cover. Just loosen until they spin freely. Some Latitudes have screws hidden under the rubber feet. |
| HP | Start prying from the rear hinge edge. EliteBooks often have a sliding battery connector — push it sideways, not up. |
| Lenovo | ThinkPads sometimes hide screws under rubber pads or stickers near the hinges. If the cover won’t budge, you missed a screw — not a clip. |
| ASUS | Look for a captive screw in the bottom-right corner that lifts the cover slightly when loosened. Start prying from there. |
5. Disconnect the Battery (Most Important Step)
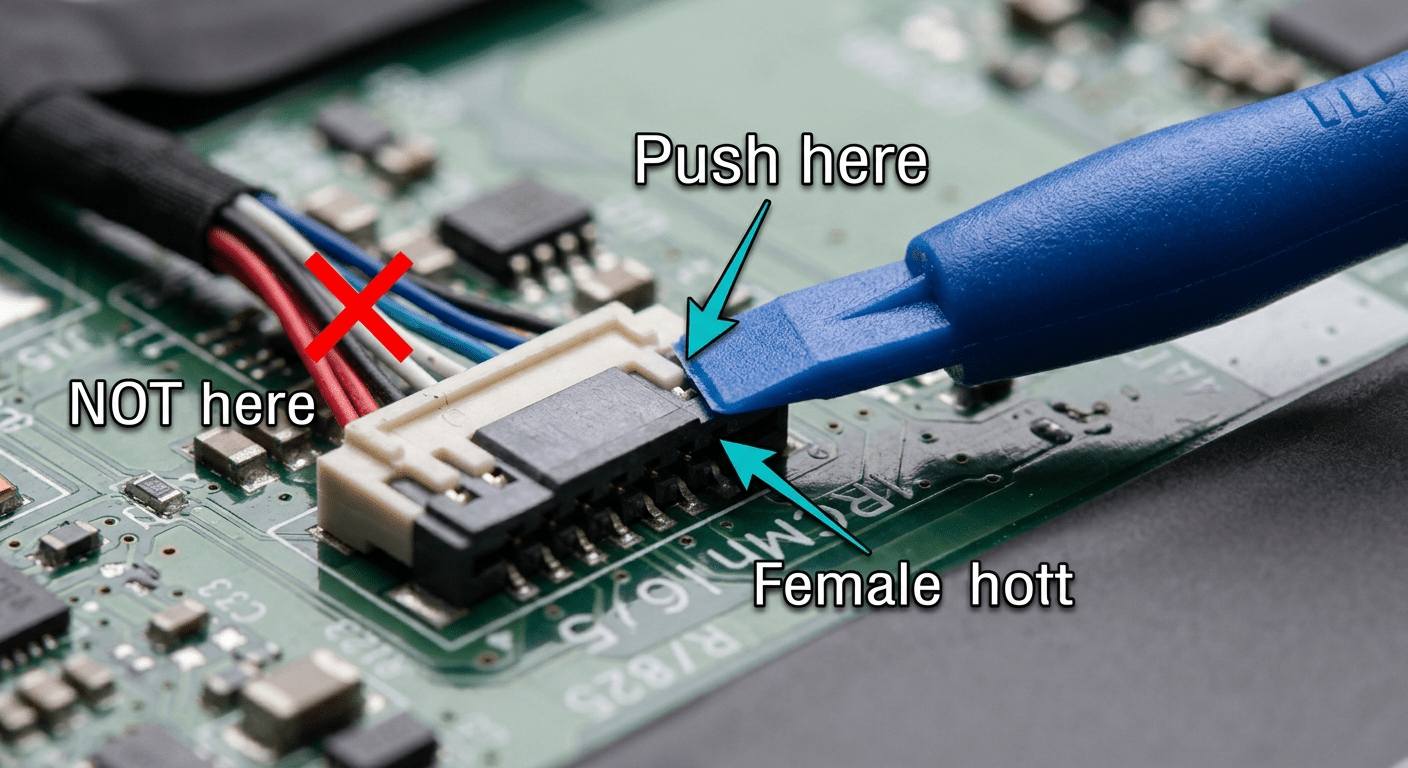
Find the battery connector on the motherboard. It’s a flat ribbon-style plug, usually near the edge of the battery. Use your plastic spudger to push the connector straight out of its socket. Push from the hard plastic body of the connector. Never pull the wires.
Some laptops cover the connector with tape or a small metal bracket. Peel the tape back or unscrew the bracket first. Keep track of any bracket screws — they’re tiny.
After disconnecting, press and hold the power button for 10 seconds. This drains any remaining charge from the motherboard. Dell calls this “flea power.” It’s a habit worth building — I do it on every laptop I open.
6. Remove the Old Battery, Install the New One
Some batteries have adhesive strips underneath. If yours does, pull the tab slowly at a low angle. The strip stretches as you pull and releases the adhesive. If the strip snaps — stop. You’ll need isopropyl alcohol and patience to loosen the remaining adhesive. Don’t pry with metal.
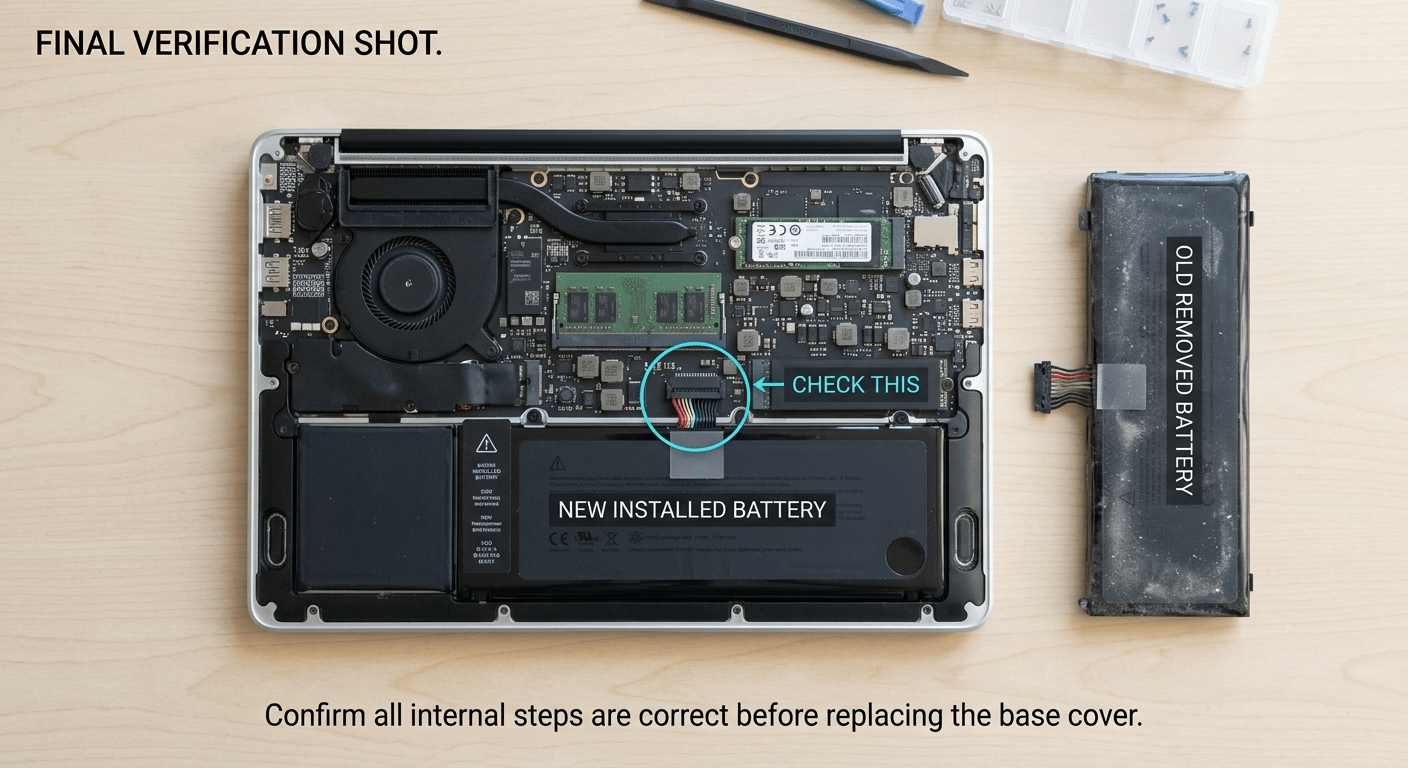
Reconnect the battery cable last. Press the connector firmly into its socket until it’s fully seated. Give it a gentle tug to confirm it’s locked in. If it pops out, you didn’t seat it fully.
7. Reassemble and Test
- Snap the bottom cover back on. Press around all edges until every clip clicks. Start from one corner and work your way around.
- Replace all screws. Put each screw back where it came from — remember the paper sketch from Step 2.
- Plug in the AC adapter first. New batteries often ship in “shipping mode” — they won’t power the laptop until they receive their first charge through the adapter.
- Power on. Watch for the charging indicator light. If the laptop boots normally and the battery icon shows charging — you did it.
The first boot might take a few seconds longer than usual. The system is recognizing new hardware. That’s normal.
8. After the Swap: Calibrate Your New Battery
Your new battery works. But the percentage reading might be off — jumping from 40% to 8%, or staying at 100% for an hour then dropping fast. That’s the BMS (Battery Management System) still using the old battery’s charge curve. It needs to learn the new one.
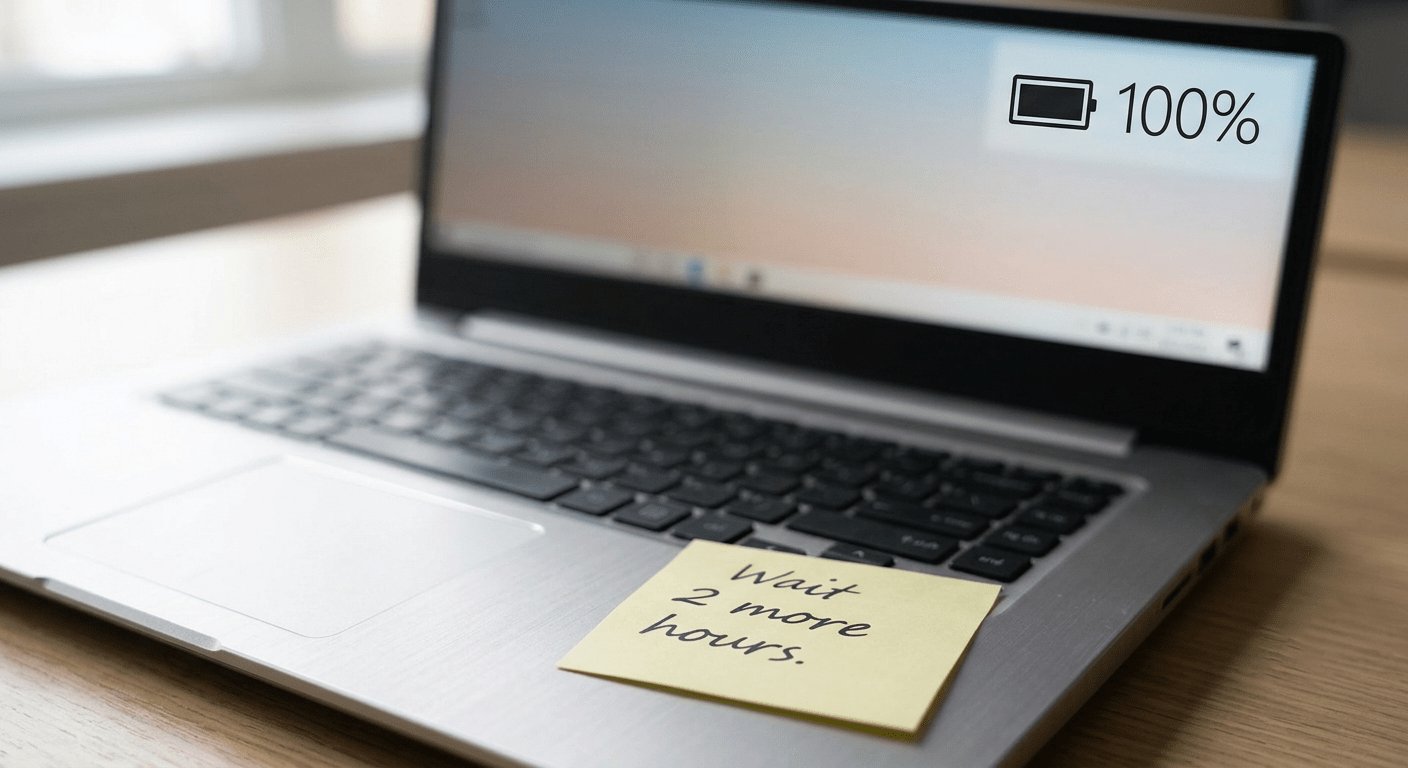
- Charge to 100%. Leave it plugged in 2 more hours.
- Go to Power Settings. Disable sleep and hibernate on battery. You want an uninterrupted discharge.
- Unplug and use the laptop until it drains to 0% and shuts off.
- Wait 5 hours. Don’t plug it in yet. The voltage needs to settle.
- Plug in and charge uninterrupted back to 100%.
Run that cycle once. Twice is better. After that, your battery percentage will read accurately.
Brand Shortcuts
| Brand | Built-In Calibration Tool |
|---|---|
| Dell | BIOS → F12 at boot → Diagnostics → Battery Calibration |
| Lenovo | Lenovo Vantage → Device → Power → Battery Gauge Reset |
| HP | BIOS → Esc at boot → F2 → Component Tests → Battery |
 9. What If the New Battery Isn’t Working?
Don’t panic. Most post-install problems have simple fixes. Here are the four I see most often.
| What You See | What’s Happening | Fix |
|---|---|---|
| Laptop won’t turn on at all | Battery is in shipping mode | Plug in the AC adapter. New batteries ship with the circuit disabled for safety. The first charge wakes them up. |
| “Battery not detected” | Connector not fully seated | Shut down, reopen, disconnect and firmly reseat the battery connector. This is the #1 cause of post-install problems. |
| “Plugged in, not charging” | Charge threshold is enabled | Check your manufacturer’s power app. Dell Power Manager, Lenovo Vantage, and ASUS MyASUS can all cap charging at 60–80%. |
| Percentage jumps around (40% → 8% → 35%) | BMS hasn’t calibrated yet | Run the full calibration cycle from section 8. This almost always fixes it. |
If you’ve tried all of these and the battery still isn’t working, try updating your BIOS from the manufacturer’s site. Rarely, a firmware mismatch blocks the new battery from communicating. If that doesn’t fix it either, contact the seller — the battery may be defective. That’s what the 1-year warranty is for.
Frequently Asked Questions
Can I replace my laptop battery myself?
Yes — for most laptops with screw-mounted internal batteries or external slide-out batteries. You need a Phillips screwdriver, a plastic pry tool, and 15–45 minutes. Glued-in batteries (MacBook, Surface) are harder — pay a professional for those.
What tools do I need to replace a laptop battery?
Four things: a Phillips #0 or #00 screwdriver, a plastic spudger or pry tool, an anti-static wrist strap (optional but smart), and a small container for screws. Total cost: about $15, one-time purchase.
How long does it take to replace a laptop battery?
External batteries: 30 seconds. Internal screw-mounted batteries: 15–45 minutes. Your first time will be slower — you’re learning where the clips are. After a few swaps, it’s a 15-minute job.
Is it safe to replace a laptop battery yourself?
Yes, with two rules: disconnect the battery from the motherboard first (before touching anything else), and never use metal tools near the battery connector. If the battery is swollen, stop — take it to a professional. Swollen batteries are a fire risk.
What if my laptop battery is built-in and not removable?
That’s what most of this guide covers. “Built-in” just means you remove the bottom panel to access it. As long as the battery is held by screws (not glue), you can replace it yourself. Follow the steps in sections 4–7.
Why isn’t my new battery being recognized?
The most common reason: the connector isn’t fully seated. Shut down, reopen the laptop, and firmly press the battery connector into its socket. Second most common: the battery is in shipping mode and needs to be woken up by plugging in the AC adapter first.
References & Sources
- Dell Support — Official service manuals and battery replacement procedures for Dell laptops.
- Lenovo Support — Hardware maintenance manuals for ThinkPad and IdeaPad models.
- HP Support — Service and maintenance guides for HP laptops.
- iFixit — Model-specific repair guides with step-by-step photos for most laptop brands.
Got Your Tools? Get Your Battery
Browse replacement batteries for Dell, HP, Lenovo, ASUS, and more. Match by part number for a guaranteed fit. All backed by a 1-year warranty.